Elabo Power Supply
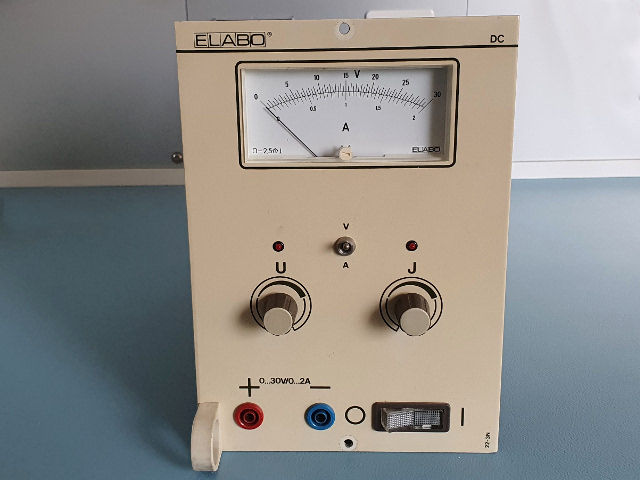
Each lab needs at least one variable power supply.
And I had a second hand one lying around for years.
Its brand is Elabo, a well known German lab equipment supplier.
Most of their equipment is to be mounted into one of their many workbench options.
And so was mine.
The device itself was built in an open frame, which is not suited for stand alone use.
It proved to be very difficult to find any information about the power supply like its schematic or even its model number, probably because of its age.
I thought I had the schematic diagram for a long time, but it appeared to be of an entirely different device.
I could have gone two routes to start using the power supply safely.
I could build a cabinet in which it could slide into.
Or I oculd create an appropriate front panel for my own workbench.
I’ve chosen for the latter approach.
The nice thing about integrating it into my workbench is that it doesn’t take up any bench space.
The disadvantage is that the power supply can not be used separately anymore.
It is forever tied up into my workbench.
 View from the bottom
 View from the tom
Anyway, what I like most about this power supply is the analog meter which can be used to measure the output voltage or the output current.
For the rest it is a very simple device.
There’s a knob to adjust the output voltage, and a knob to adjust the maximum output current.
A toggle switch selects between the voltmeter and the amperemeter.
Two LEDs indicate whether the device is in Constant Voltage or in Constant Current mode.
The output voltage can be set between 0 to 30V, while the maximum output current across that range is 2A.
And it is of course a linear regulator, not that switched mode rubbish.
 Meter mount, without its retaining strip.
 Controls
I Can Fix It
Before spending time on integrating the instrument into my workbench I thought it was a good idea to make sure the power supply was working correctly.
And it did, sort of.
It could indeed deliver the 2A and the output voltage was indeed ajdjustable from 0V to 30V, ripple free.
However I could not get the meter to show the output current.
The output voltage worked fine, but I could not switch the meter to show me the current.
This appeared to be caused by a faulty toggle switch.
No worries I’ve got plenty of those lying about and it was soon replaced.
Now I can switch the meter between voltage and current again.
Also the potmeters crackled a lot.
I was a bit surprised about that, because they appeared to be high quality wirewound potmeters.
Nothing a squirt of deoxid and a few twiddles of the knobs couldn’t fix though.
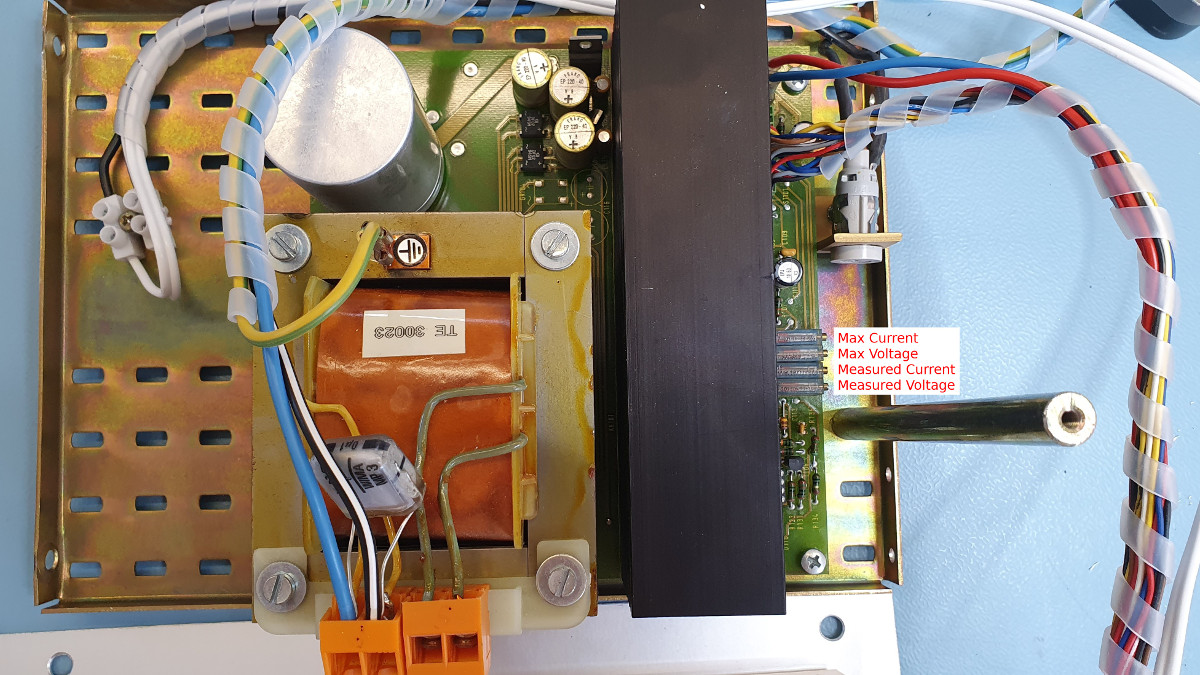 Adjustments
Now all it needs is calibration.
This can be done with 4 multiturn potmeters inside the device.
Two of them adjust the maximum voltage and current values.
And two others are used to calibrate the analog meter.
The picture above shows which is which.
Building It All Together Again
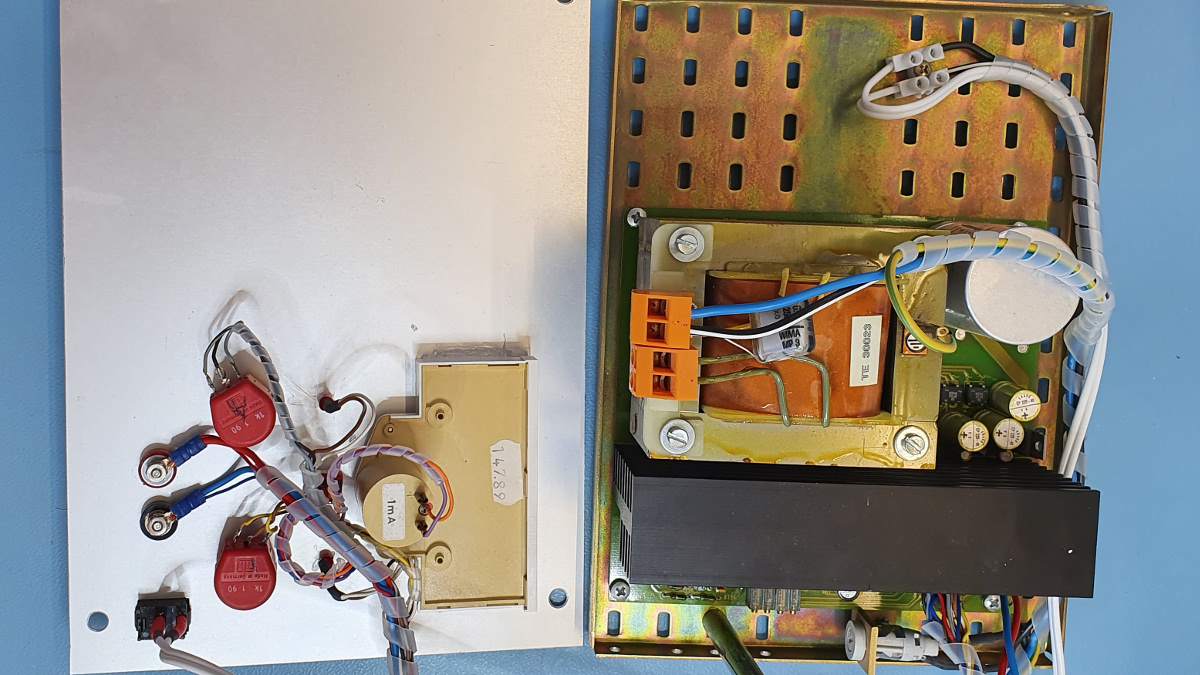 New front fitted
OK it works,
Let’s give it a new home.
I took a blank front panel, and measured out where everything should go.
The meter and the power switch are routed out.
The rest are simple round holes, which I could easily do myself.
The meter is glued into place, the rest is easily mounted.
Unfortunately I broke one of the original LEDs, which indicate Constant Current, or Constant Voltage mode.
I don’t have the exact same LEDs, so I simply replaced both of them with some very common 3mm red LEDs.
 The end result
The most difficult part proved to be to fit the open frame, which is now separate from the front panel, into my work bench. The cabinet is just not high enough to be able to enter it sideways and then put the frame upwards again. The frame must be in the upwards position for optimum passive cooling. I had to remove one side of the frame, turn the frame upright and then attach the side again. Not ideal, but I don’t have to remove the frame from the cabinet that often anymore.
No Smoking Please!
A few days later, when I was doing something completely different, while the power supply was powering a circuit, I heard a short hissing noise. I looked at the circuit and everything was working as it should be. A few minutes later I started smelling smoke. Just to be on the safe side I pulled the plug from the wall to my work bench. And while doing so I saw smoke coming from underneath my work bench. I opened up the front panel and saw that the entire cabinet was filled with grey smoke. Something has horribly gone wrong.
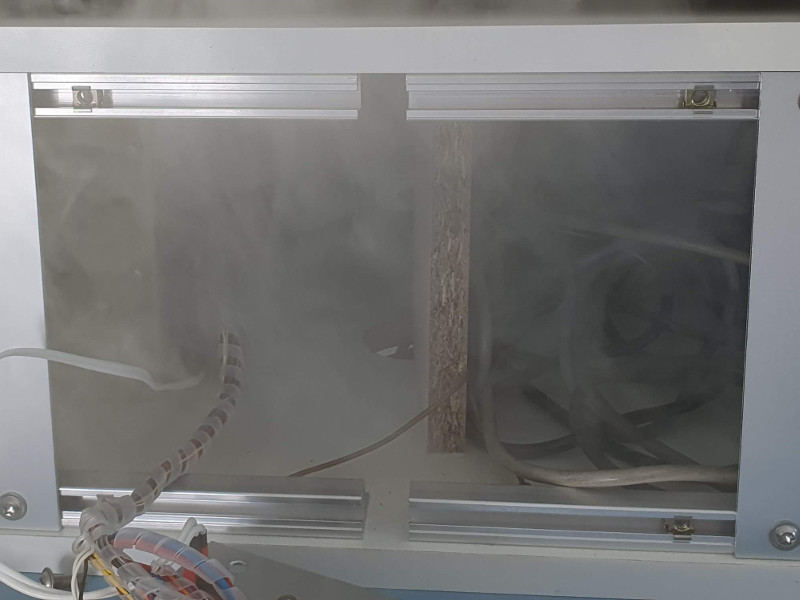 Lots of smoke
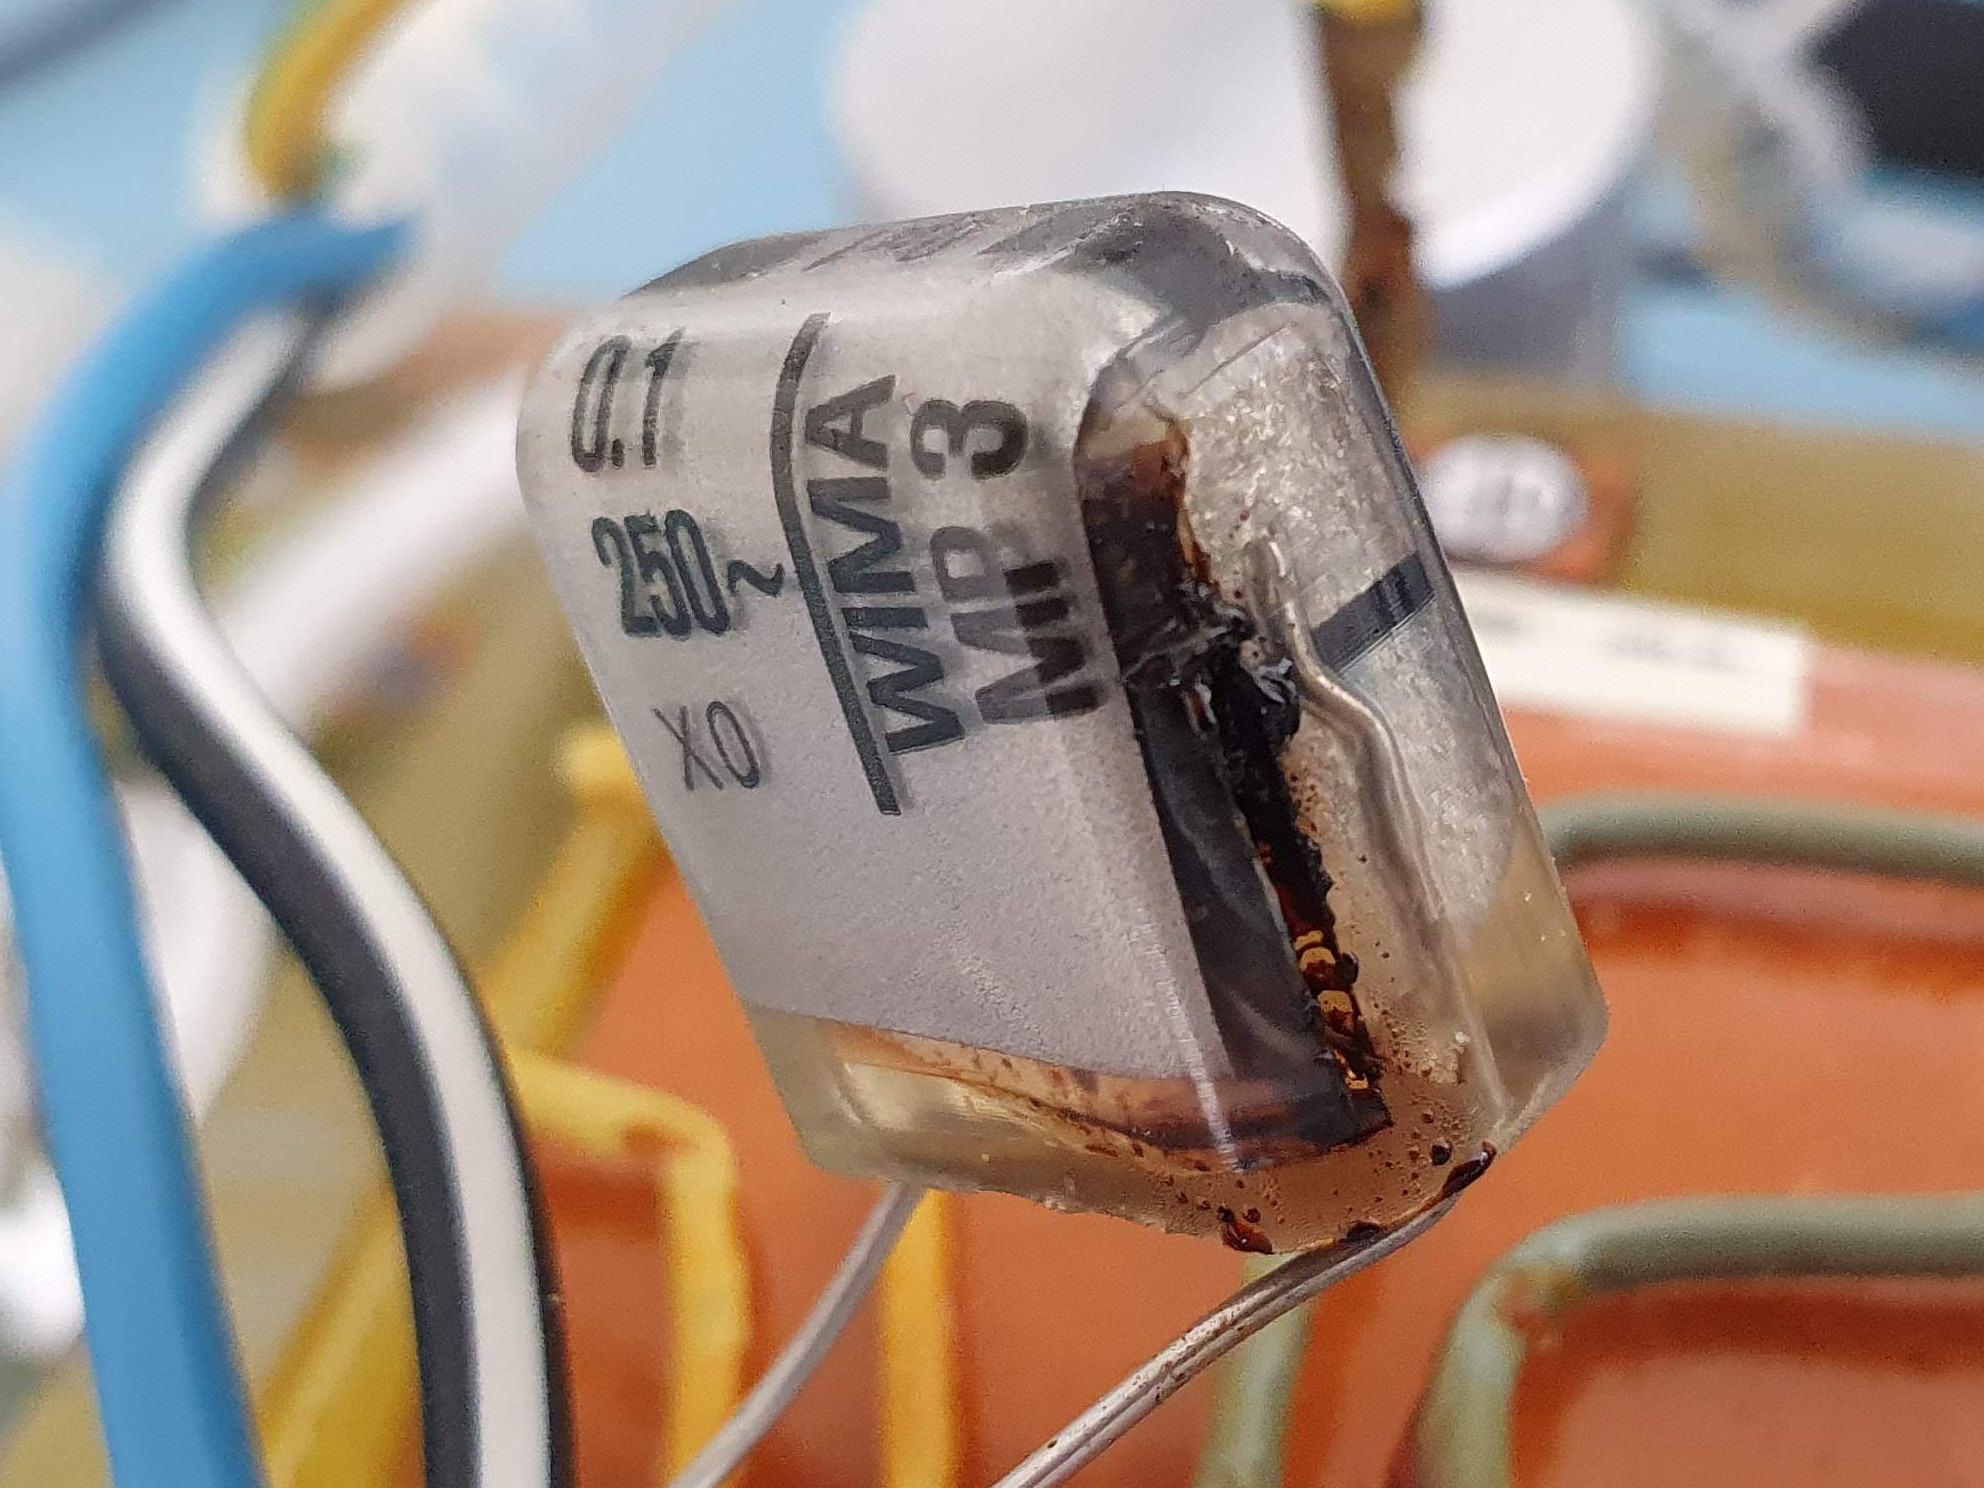 Here's the culprit
Fortunately it was only the X capacitor which had failed.
You can easily do without one.
But I had some new ones laying around and the replacement was soon installed.
I’ve seen this type of WIMA capacitors fail more often.
Cracks will start to appear into their body when they get older.
And I assume moisture can then enter it, causing the capacitor to fail when they are exposed to 230V AC.
Nothing spectacular or particularly dangerous.
But seeing such a lot of unexpected smoke can be quite alarming.
This again proves that all electronic components are made of smoke.
Once that smoke gets the chance to escape, the component is dead.
It also proves that the statement that "where there’s smoke, there’s fire" is not always true, fortunately.
